The pile of old boards had been sitting behind our neighbor's garage since October, when he tore down his deck. Every time I drove past it I thought, "those would make great garden beds." In February I finally walked over and asked. He was thrilled to get rid of them. Mike was less thrilled when he saw the nails.
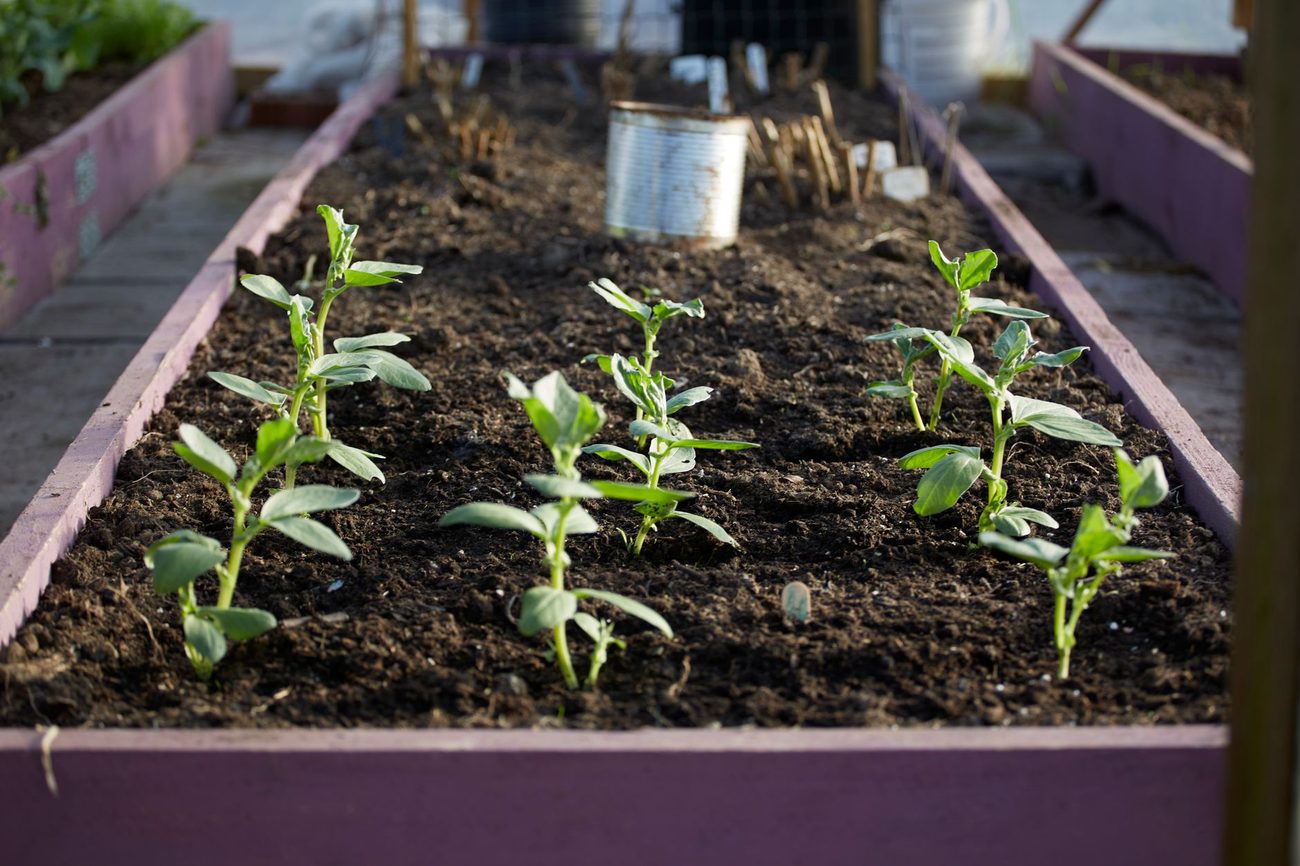
Three weekends later, we have three raised beds in the backyard, all built from reclaimed wood, and it's mid-March in Pennsylvania, so the ground is still too cold for much besides peas and spinach. Perfect timing, actually. Here's how we did it, what it cost, and the one mistake I almost made.
First: not all old wood belongs in a garden
I nearly skipped this part, and I'm glad Mike made me look it up. Before you haul any used lumber home for a vegetable bed, check a few things:
- Older pressure-treated wood. Lumber made before about 2004 was often treated with chromated copper arsenate (CCA), which contains arsenic. It's usually greenish and stamped or tagged. Many gardeners avoid it for food beds. The deck boards turned out to be cedar, but the deck's old support posts were greenish treated lumber. We left those out.
- Painted wood. Paint on older boards may contain lead. We skipped anything painted.
- Railroad ties. These are treated with creosote, which you don't want near vegetables.
- Rot. Soft, spongy boards won't hold soil for long. Press a screwdriver in; if it sinks easily, pass.
Untreated cedar, old fence pickets that were never stained, and pallet wood stamped "HT" (heat-treated, rather than "MB" for methyl bromide) are the kinds of things people commonly use. If you're unsure what something is, I'd leave it. There's always more free wood.
What we ended up with
From the neighbor's deck: about twenty cedar 2x6 boards, most around 8 feet long, weathered gray but solid. From a cousin who replaced her fence: a stack of untreated fence pickets we used for bed dividers and a little border. Mike also had some 4x4 scraps in the garage from an old project.
Supplies and cost
| Item | Cost |
|---|---|
| Reclaimed cedar 2x6 boards | Free |
| Fence pickets and 4x4 scraps | Free |
| Box of 3-inch exterior deck screws | $14 |
| Replacement saw blade (the old one was dull) | $12 |
| Roll of hardware cloth for the bottom | $16 |
| Total | $42 |
Soil was the real expense, but we don't count that as part of the build. More on that below.
How we built them
- Pulled every nail. This took an entire Saturday with a pry bar and a hammer, and Owen was very helpful for about forty minutes. Wear gloves and eye protection; old nails snap.
- Cut boards to size. Each bed is 4 feet by 8 feet, two boards high (about 11 inches deep). Four feet wide means you can reach the middle from either side without stepping in.
- Cut corner posts. Mike cut the 4x4 scraps to 11 inches for inside corners. The long sides screw into the posts, which is much sturdier than screwing board ends to each other.
- Assembled on the driveway. Three screws per board end into each post.
- Leveled the spot. We carried each frame to the backyard, scraped a level area, and checked with a level. Our yard slopes toward the back fence, so one corner needed some dirt dug out.
- Stapled hardware cloth on the bottom. We have moles, and this was the neighbor's number one tip.
- Lined the bottom with cardboard to smother the grass, then started filling.
Filling them without going broke
Three 4x8 beds at 11 inches deep need roughly 2.5 cubic yards of soil. Bagged soil for that would have cost a small fortune. Instead, we layered: fallen branches and leaves at the bottom (we'd saved bags from the fall), then grass clippings and old potting soil, then a truckload of topsoil mixed with compost from a local landscape supply. Mike's pickup carried it in two trips. That came to about $95, which I'm filing under "garden" rather than "project."
The layers will settle over the season, so I'll top them off next year with our own compost.
What I'd change
I'd pull the nails in the fall, not in February with numb fingers. I'd also make one bed narrower, about 3 feet, for Rosie, so she can reach everything without climbing in. She has already claimed a corner for "strawberries and a flower."
The peas go in this weekend if the forecast holds. The weathered gray cedar looks like it's been back there for years, and the neighbor already asked if he can have some tomatoes in August. Fair trade.